Then, I spotted the sheep rug. It was in a Pottery Barn Kids catalogue, but when I looked into it, it was sold out and discontinued! Well, I HAD to have this rug. And as we know, pregnant women usually get what they want. After calling every store and outlet out there, I found the rug on eBay. Score! It was shades of cream and beige, so my next job was to find a paint color to match. After testing about 8 billion shades of beige on the walls, I settled on a color called Carrington Beige. It's very light, and somewhat creamy looking.

 I am proud to say I did all of the painting in this room myself. (Don't worry, I cracked the window and made sure I was using safe paint first.) The molding, chair rail, and closet shelves all were installed as raw wood and needed to be painted. Shane helped do the closet! Here are the awesome shelves, post paint, that Brian built.


 The finished room:

 All furniture is from Pottery Barn Kids. I ended up not liking the color of the slipcover for the glider pictured above, so I ordered another, it's a more natural-cream color, and I like it so much better than the stone. Crib bedding and the lamp, as well as the changing pad cover, are Restoration Hardware Kids. Faux wood blinds I got at Home Depot, and the sheer window panel is from Bed Bath and Beyond. I ended up getting a heavier curtain when Cooper was 6 months old, to block out light when he started taking 2 hour crib naps!
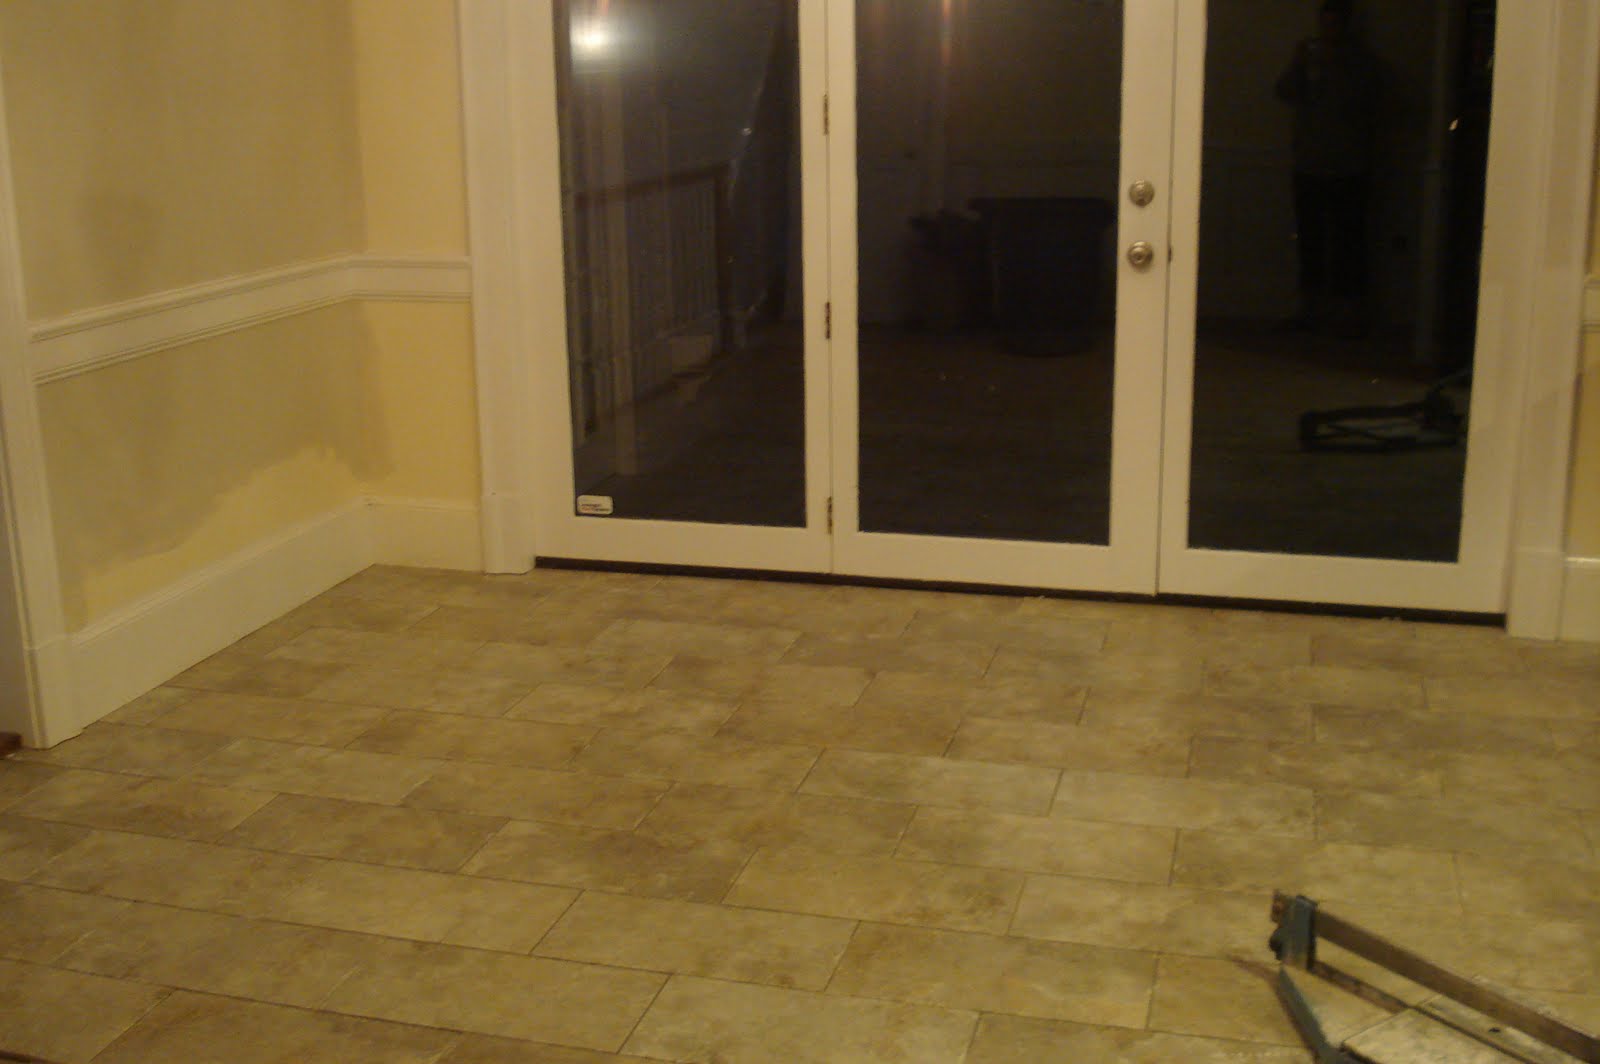
We hired our amazing carpenter, Brian, to install crown molding and a chair rail in the room, as well as shelves in the closet. I love the finished look of crown, and wanted a chair rail to add detail to the room, as well as to be able to paint the top half of the wall the beige, and the bottom, white. These are pics of the room in progress, after the crown and chair rail went in.

 I am proud to say I did all of the painting in this room myself. (Don't worry, I cracked the window and made sure I was using safe paint first.) The molding, chair rail, and closet shelves all were installed as raw wood and needed to be painted. Shane helped do the closet! Here are the awesome shelves, post paint, that Brian built.
Finished paint and the sheep rug!


Next, I needed some wall art. After doing a little searching online, I found adorable animal outline prints on a site called Dinky Cow. I contacted the artist and asked if she could do some custom prints for me. I wanted three sheep, in different positions, outlined in beige. She was more than happy to do them for me, and several weeks later, the prints arrived, adorable as ever. They were painted on flat canvas board, so I went to Michael's and found pre-cut mat boards, and white frames. Perfect!

 The finished room:
 All furniture is from Pottery Barn Kids. I ended up not liking the color of the slipcover for the glider pictured above, so I ordered another, it's a more natural-cream color, and I like it so much better than the stone. Crib bedding and the lamp, as well as the changing pad cover, are Restoration Hardware Kids. Faux wood blinds I got at Home Depot, and the sheer window panel is from Bed Bath and Beyond. I ended up getting a heavier curtain when Cooper was 6 months old, to block out light when he started taking 2 hour crib naps!